I wanted to do a little refresh of the bathroom on the first floor. The shower is fine. The antique console sink with separate hot and cold taps, paired with an antique toilet complete with wooden tank? Sure, stay as you are! The plan was to put up some new wallpaper, change out the lights, and do a fresh coat of paint on everything. Coming up with the plan was easy! Executing it has not been fun.
Why Not Just Paper Over the Old Wallpaper?
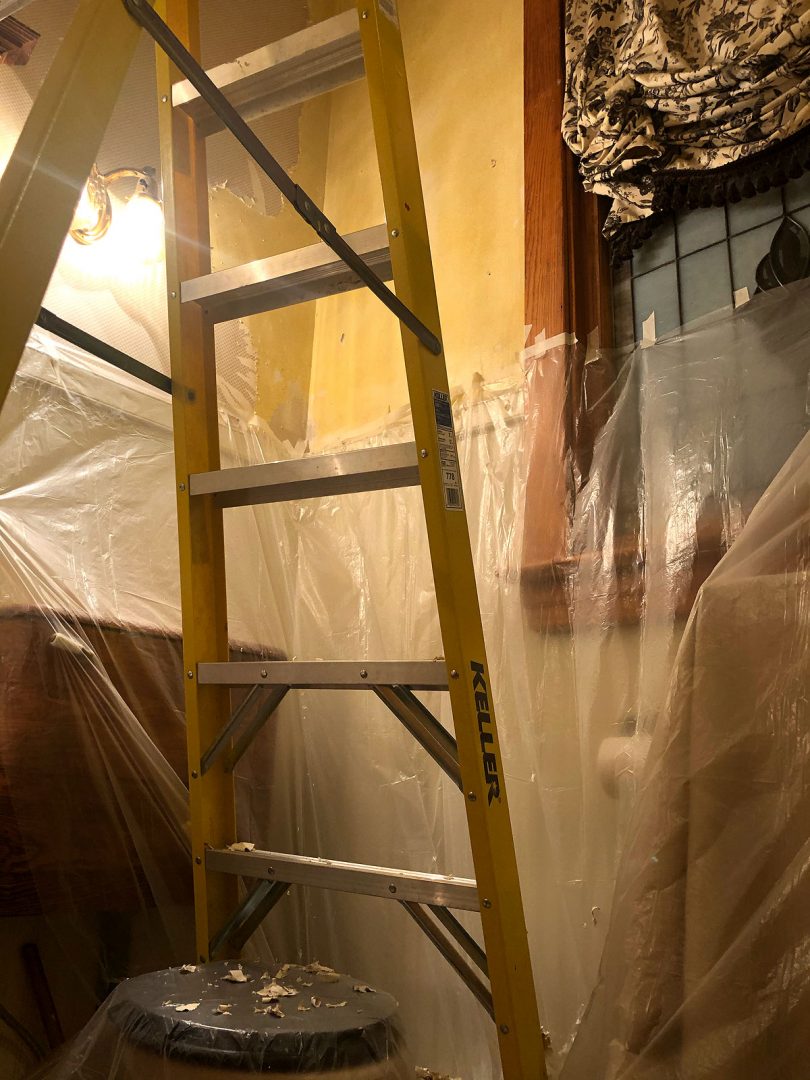
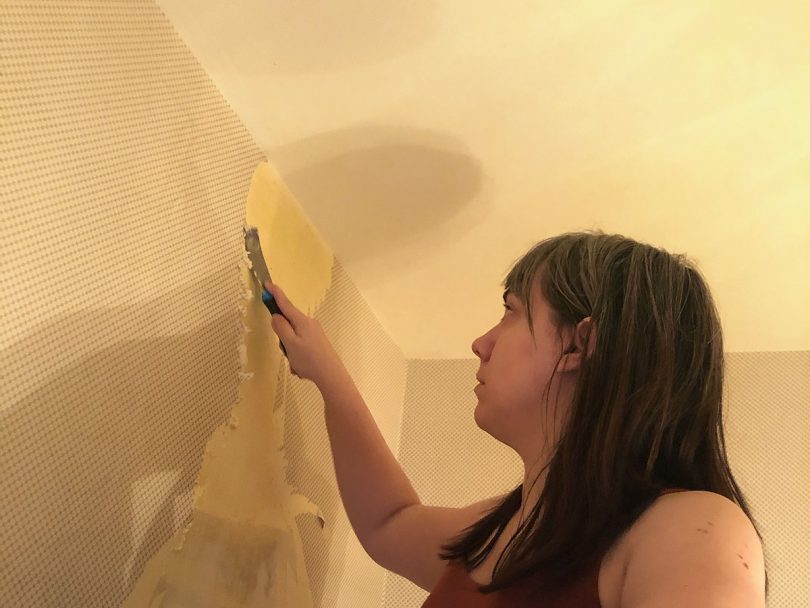
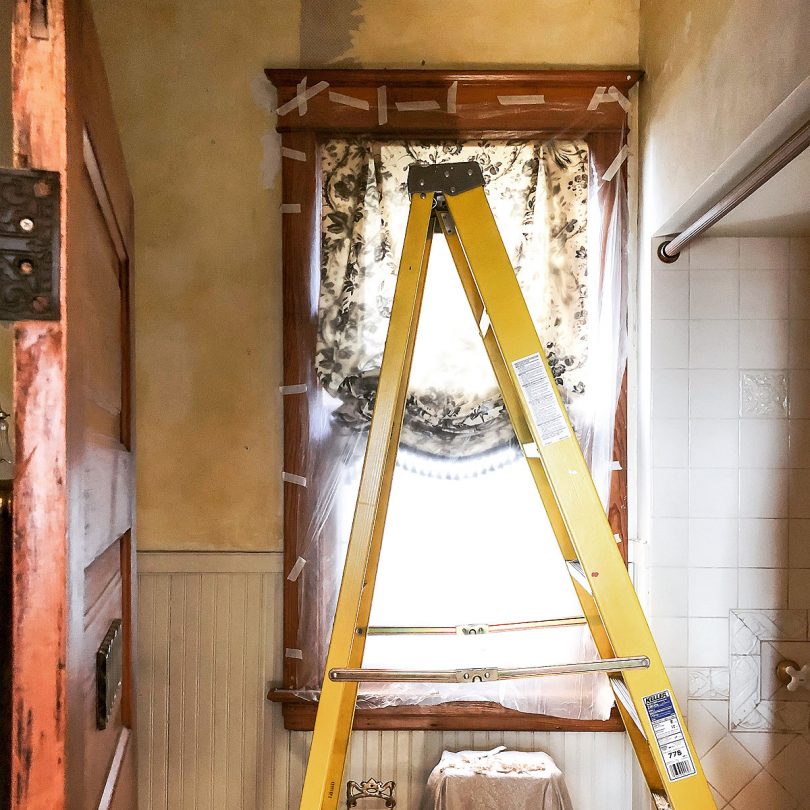
The bathroom gets pretty steamy during showers, so I had concerns about the longevity of wallpapering over the existing paper’s slick surface. I’ve removed wallpaper before — in this very house even — and while I knew it would take some time, I truly did not think it would be all that bad. I spent at least 40 hours stripping the old wallpaper! Ridiculous. The wallpaper had been applied directly to unpainted drywall and bare patched spots, so it came off in teeny tiny pieces (sometimes taking the drywall’s paper backing with it and softening the mudded areas).
As I shared the process in real time in Instagram Stories, people reached out to ask why I didn’t just drywall over it all once I realized how bad the job would be. I suspect the wall with the medicine cabinet actually is a layer of drywall over the original plaster. But why not do it over the existing paper? Putting up new drywall, taping, and mudding would take nearly as much time and effort while losing some of the depth of the room and trim profile. There may be a slight benefit of time saved, but at the expense of architectural details. So I continued on with the tedious job of stripping the wallpaper as neatly as I could.
Wallpaper Removal Methods
I tried scoring. Steaming. Soaking. Applying DIF wallpaper remover (with no noticeable difference between the liquid concentrate and the gel version, and no improvement over very hot water from a good spray bottle). There was no magic solution to make it go faster, though the wallpaper scoring tool did make the biggest difference. I tried a wallpaper removing tool, but preferred a small putty knife.
I did the work in batches. Three hours here, four hours there. There were a few long days too, but I learned my lesson early on when I kept pressing and did 12 hours of scraping and then couldn’t sleep because my shoulder hurt too much. I’m not as good at scraping with my non-dominant hand, so most of the work was all repetitive motion with the same arm.
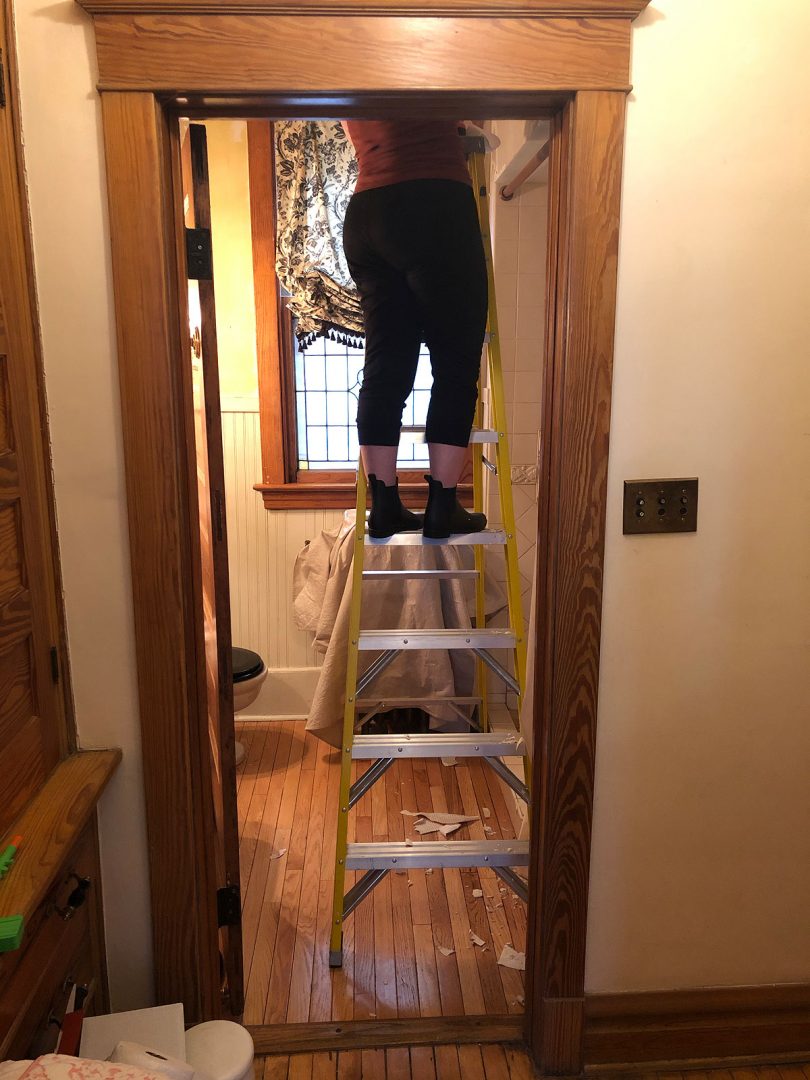
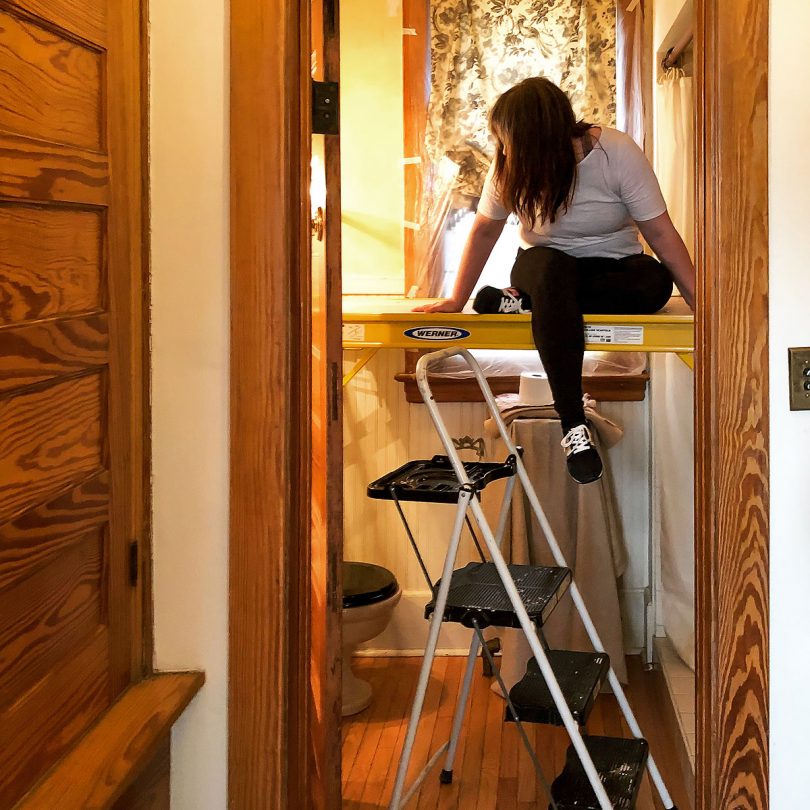
I did finally get a scaffold after trying to reach various parts of the wall 10′ up with A-frame and multi-position ladders. I’m nervous about heights, so being four feet up is a stupid big deal to me. Any clanking noise or slight feeling of movement startled me! A truly unenjoyable experience all around.
Repairing the Walls and Preparing to Wallpaper Again
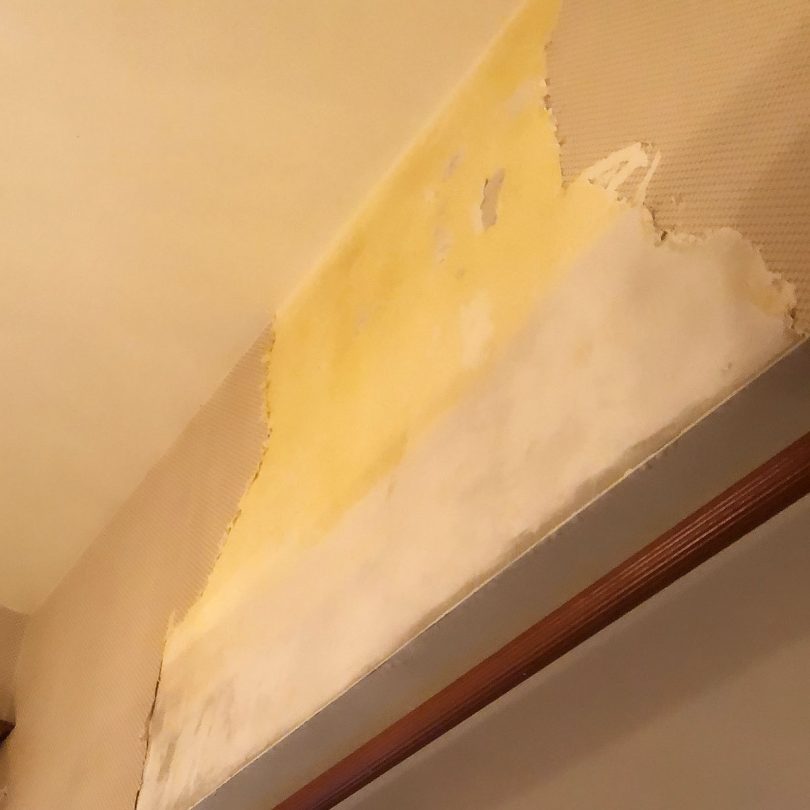
The job is done! Well, the wallpaper removal part is. Now I need to repair the damage left behind and get the walls in shape for new wallpaper to come. I’ll start by scrubbing the walls with DIF (vinegar is good too, but I already have the DIF on hand) to clean off any glue residue left behind. I’ll let it dry and then put a coat of Gardz on the walls before making my repairs (there will be many). So much Durabond to apply! I don’t think I’ll need to do a full skim coat though, just fill in areas here and there. Then it will be time to sand smooth and spot-prime with Gardz again. Following that up with Shieldz to prime for the new wallpaper.
Priming for Wallpaper
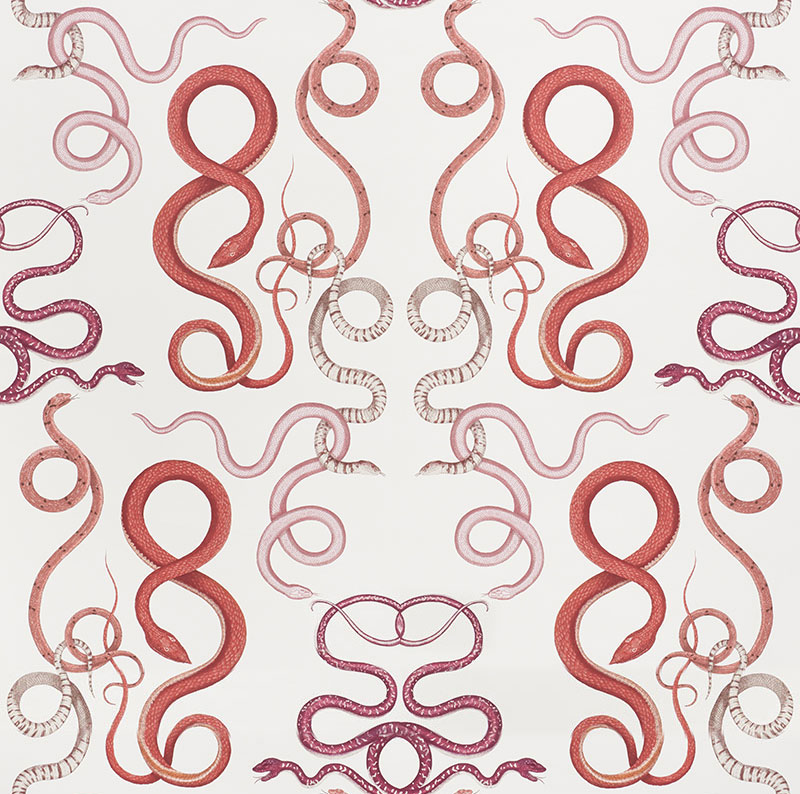
Why does one need to use wallpaper primer? One, it is opaque and will even out the wall color so no splotchiness shows through my new paper. Two, it gives you a little more wiggle room to slide the wallpaper into place before it dries. And three, it makes for easier future removal. I’m putting intertwined snakes up — I imagine future homeowners may want to make a change at some point.
Prep Work and Painting the Rest of the Bathroom
All of that work so far and to come was just for the top half of the walls! The lower half of our bathroom has headboard wainscoting. I like it and want to keep it, so I’ll give it a light sanding, clean it, and paint it. One coat? Who am I kidding, I know it will be two.
The window, medicine cabinet, and doorway will all be sanded, cleaned, primed, and painted the same color and finish as the beadboard. Two or three coats on everything. The door will be done too, but in black, and the ceiling to match the woodwork in a flat finish. The ceiling needs some repair attention too — it was patched when we had to rip it open to repair leaking pipes in the bathroom above. I like a flat look on the ceiling, so I’ll be using Benjamin Moore Aura Bath and Spa paint in a matte finish.
A lot of work and I’m only halfway done, if that. But continuing on! It will be worth it in the end.
© 2021, published by Making it Lovely as Stripping Wallpaper in the Bathroom | No comments | This post may contains affiliate links; I will be compensated if you make a purchase after clicking on my links.
The post Stripping Wallpaper in the Bathroom appeared first on Making it Lovely.
No comments:
Post a Comment